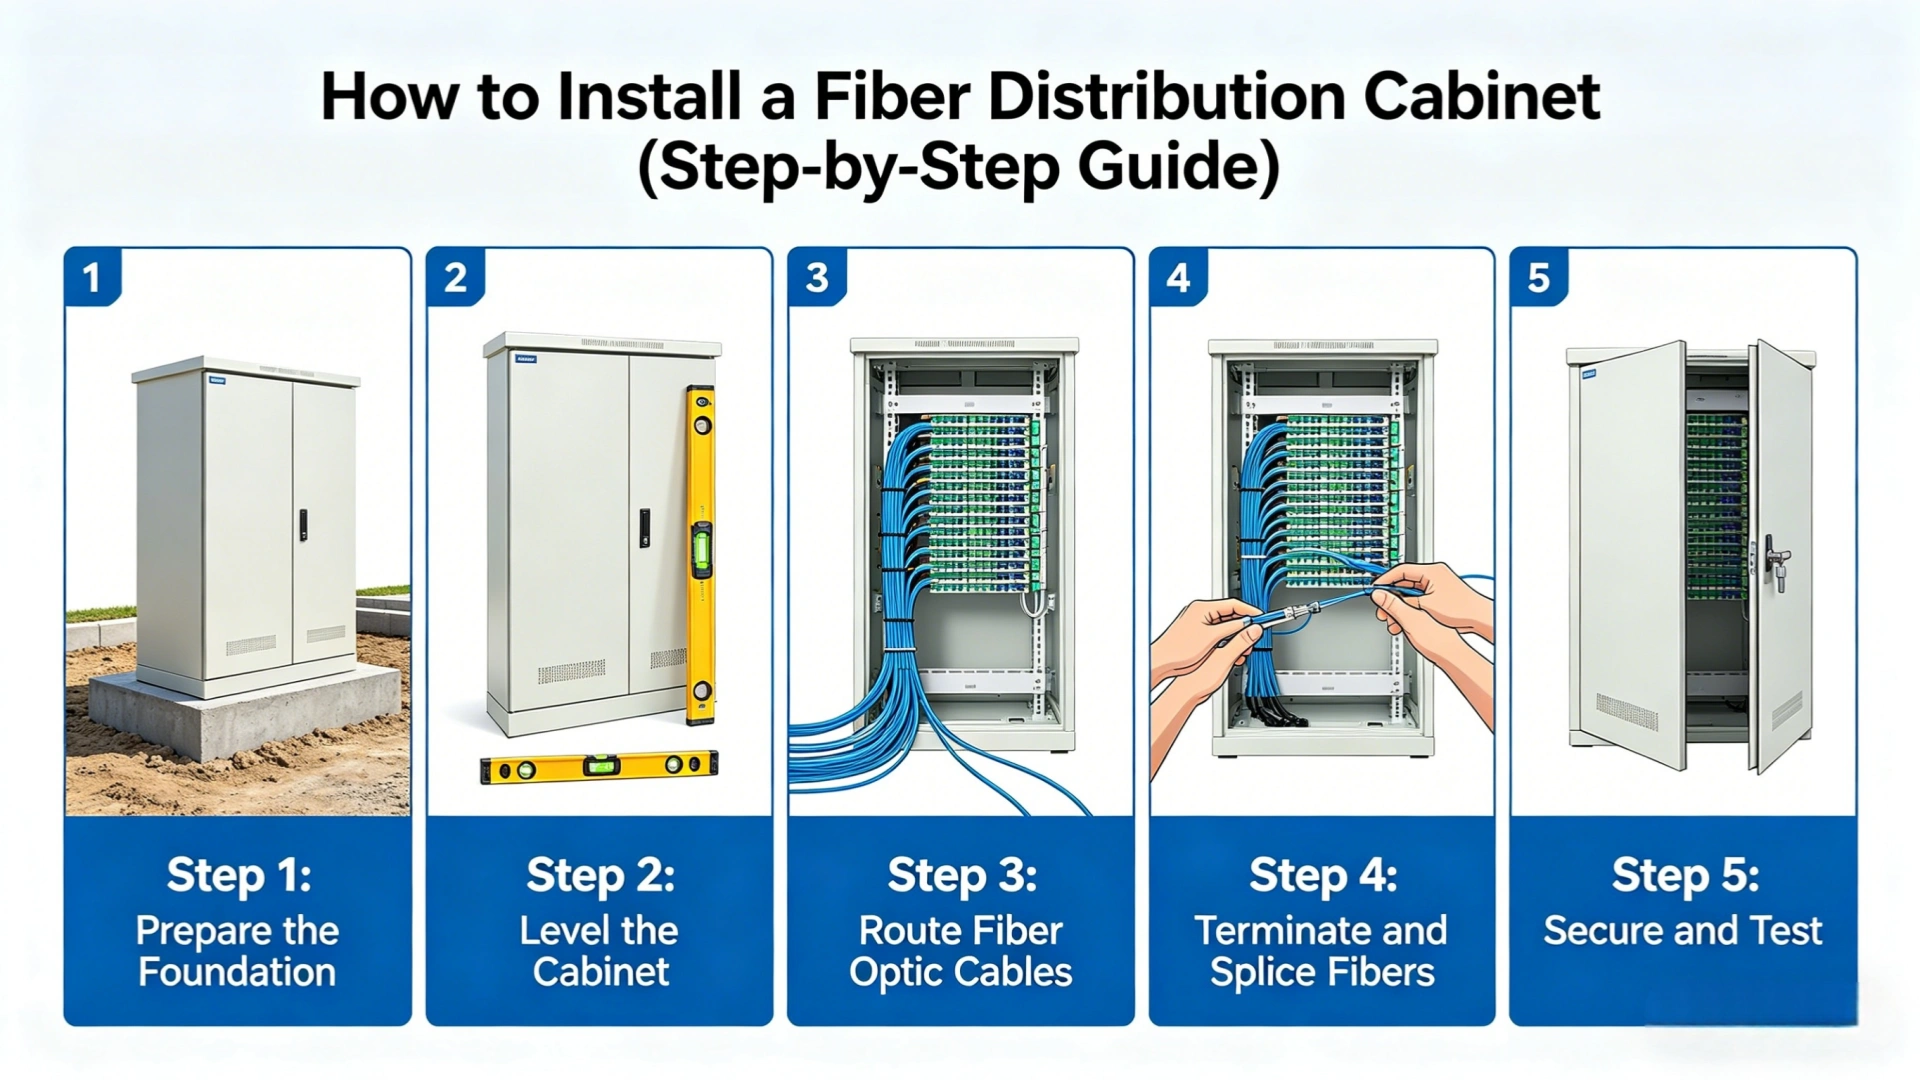
The installation of a fiber distribution cabinet involves five key steps: site selection, cabinet mounting, cable routing, fiber splicing, and grounding + testing + sealing. Correct installation ensures low loss, stable performance, and long-term reliability in FTTH networks.
Step 1: Site Selection
Choosing the correct location is essential for the performance of a fiber distribution cabinet.
Key Requirements
| Factor | Requirement |
|---|---|
| Accessibility | Easy maintenance access |
| Environment | Avoid flooding, humidity, or extreme heat |
| Network proximity | Close to fiber trunk lines |
| Security | Reduce vandalism risk |
Key Point: Outdoor deployment of an outdoor fiber cabinet should be placed near FTTH access nodes with stable ground conditions.
Step 2: Cabinet Mounting
The cabinet must be firmly installed to ensure stability and safety.
Mounting Types
| Type | Application | Features |
|---|---|---|
| Wall-mounted | Indoor or building use | Stable and space-saving |
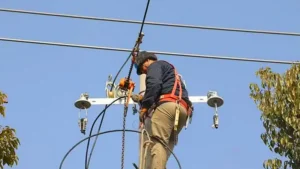
| Pole-mounted | Outdoor FTTH networks | Flexible deployment |
Installation Requirements
- Ensure vertical alignment
- Use anti-rust mounting hardware
- Maintain stable support structure
- Install at proper working height
Outdoor installation of an outdoor fiber cabinet must withstand wind and environmental stress.
Step 3: Cable Routing
Proper routing protects fiber quality inside the fiber distribution cabinet.
Routing Standards
| Item | Requirement |
|---|---|
| Bend radius | Follow minimum fiber bending radius |
| Protection | Use conduit or protective tube |
| Separation | Keep away from power cables |
| Fixing | Use cable trays and ties |
Improper bending is one of the main causes of optical signal loss.
Step 4: Fiber Splicing & Termination
This step determines overall network performance inside the fiber distribution cabinet.
Splicing Workflow
| Step | Description |
|---|---|
| 1 | Strip fiber coating |
| 2 | Clean fiber ends |
| 3 | Precision cleaving |
| 4 | Fusion splicing |
| 5 | Place into splice tray |
Quality Requirements
- Splice loss ≤ 0.05 dB
- Clean fiber end faces
- Proper labeling
- Secure protection sleeves
Step 5: Grounding, Testing & Sealing
Final step ensures safety and long-term operation of the outdoor fiber cabinet.
Grounding
| Item | Requirement |
|---|---|
| Resistance | ≤ 10Ω |
| Material | Copper grounding wire |
| Method | Single-point grounding |
Testing
| Test Type | Purpose |
|---|---|
| OTDR test | Detect faults and loss |
| Insertion loss test | Verify link quality |
| Continuity test | Check connections |
Sealing
- Seal all cable entry points
- Ensure rubber gaskets are intact
- Confirm tight cabinet closure
- Maintain IP65 or higher protection
Summary
The 5 essential steps for installing a fiber distribution cabinet are:
- Site selection
- Cabinet mounting
- Cable routing
- Fiber splicing
- Grounding, testing & sealing
Proper installation ensures stable FTTH performance, long service life, and reduced maintenance cost, especially for outdoor fiber cabinet deployments.